The Making of “Nissan GT-R 2017”
Factotum Pictures
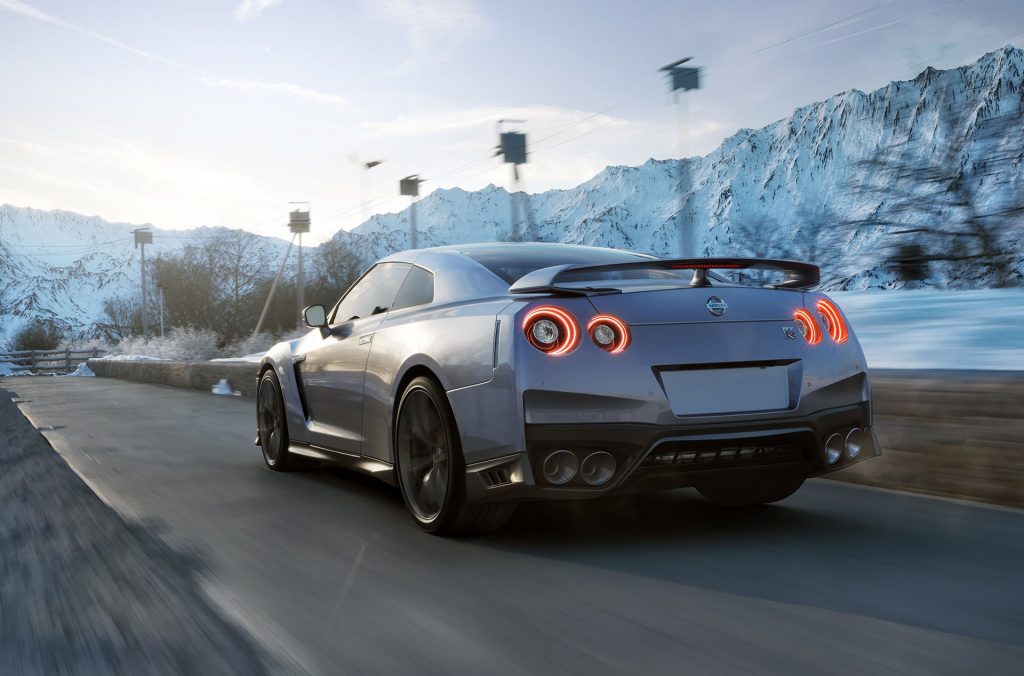
created a wonderful set of renders that were 100% CG, right down to the mountains in the background. We asked them to share just how they made these images!
Read about the making of the Nissan GT-R 2017 images!
Idea
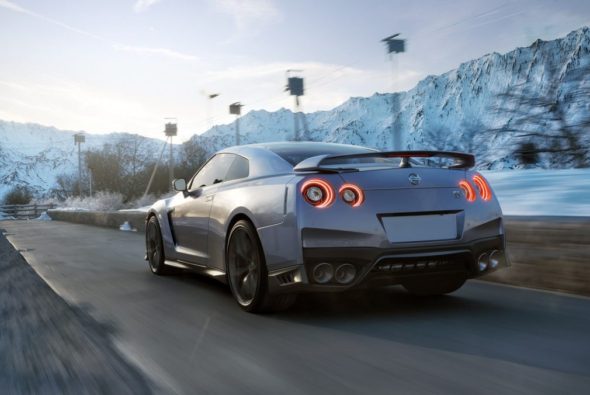
The concept we had for scene was pretty simple – create a car in motion in a fully computer-generated environment. When a car is in motion, everything close to camera gets blurry, so we also wanted to have detail farther in the background so that it wouldn’t be affected by motion blue, as part of our third plan for the images. That’s when we came up with idea of creating a car driving through some snowy mountains.
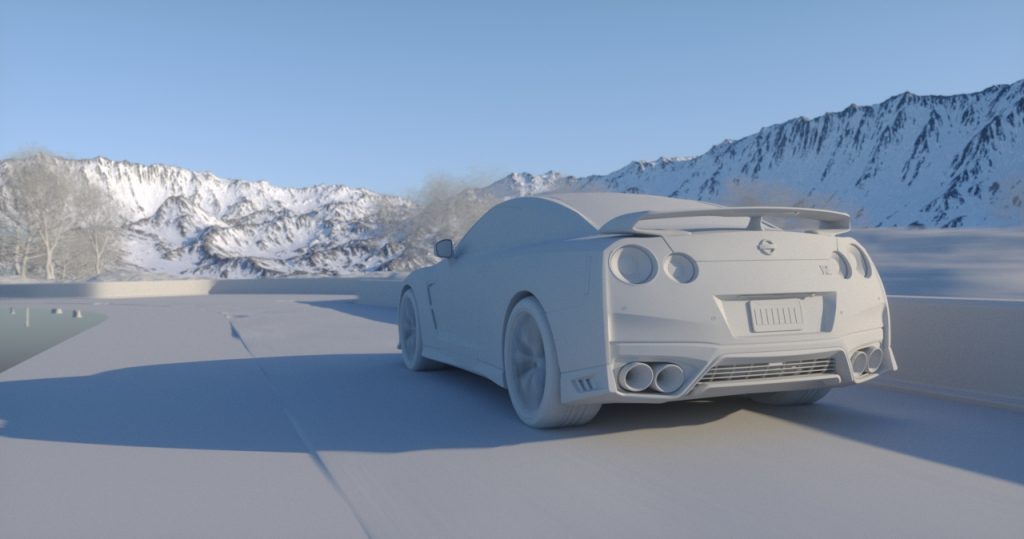
First, we created a very simple scene to decide upon an angle which would work with the idea:
References
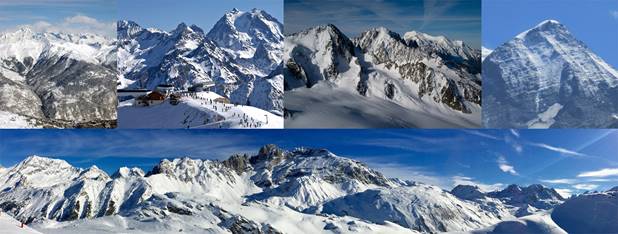
With the basic shot in mind, it was now time to gather a lot of references photos of snowy mountains, so we could make ours as real as possible:
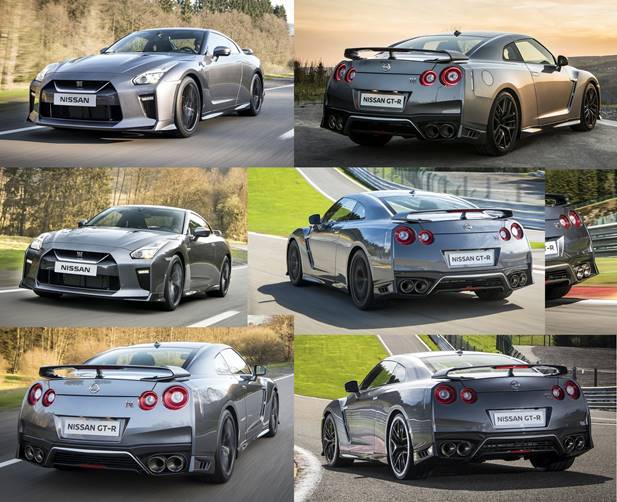
The next part of gathering references photos was for the car itself. We wanted to stick with Nissan original car paint – silver. The car we choose is very popular and people would easily recognize any mistakes, so the key areas of the car had to look real.
Mountains
To create the mountains, we used World Machine. We created the general shape with basic modifiers and then exported the model back to 3ds Max. If the basic shape wasn’t looking good enough for us once imported, we repeated the process until we got something that was looking good in the camera. Once we had general shape we started to work on adding detail to it in World Machine.
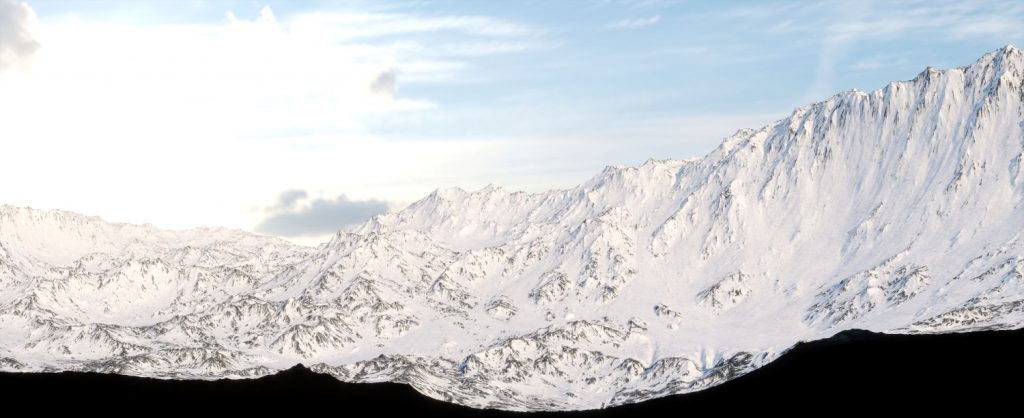
We created a mesh and textures. The mesh was rendered at 4k resolution which was around 5 million polys. The textures we rendered at 16k resolution and used them last as masks to distinguish rocks from snow.
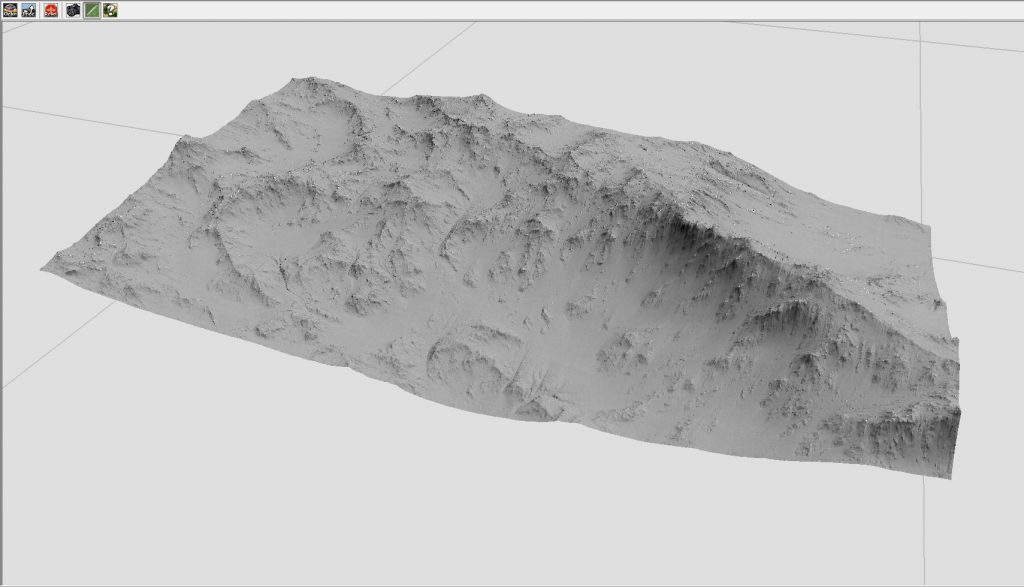
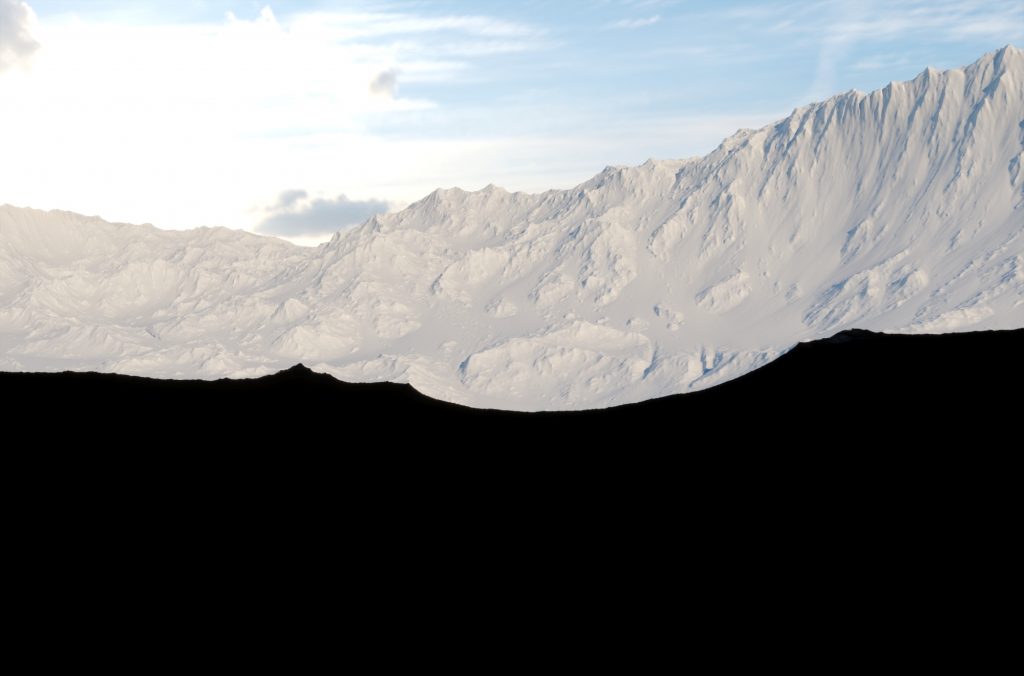
We always work with Poligon’s ( https://www.poliigon.com/ ) textures, there are tons of categories to choose from and all the maps work great with Corona Renderer. We created a few masks in World Machine, and then created a snow shader and a rock shader and mixed them togother using a Blend material and the mask.
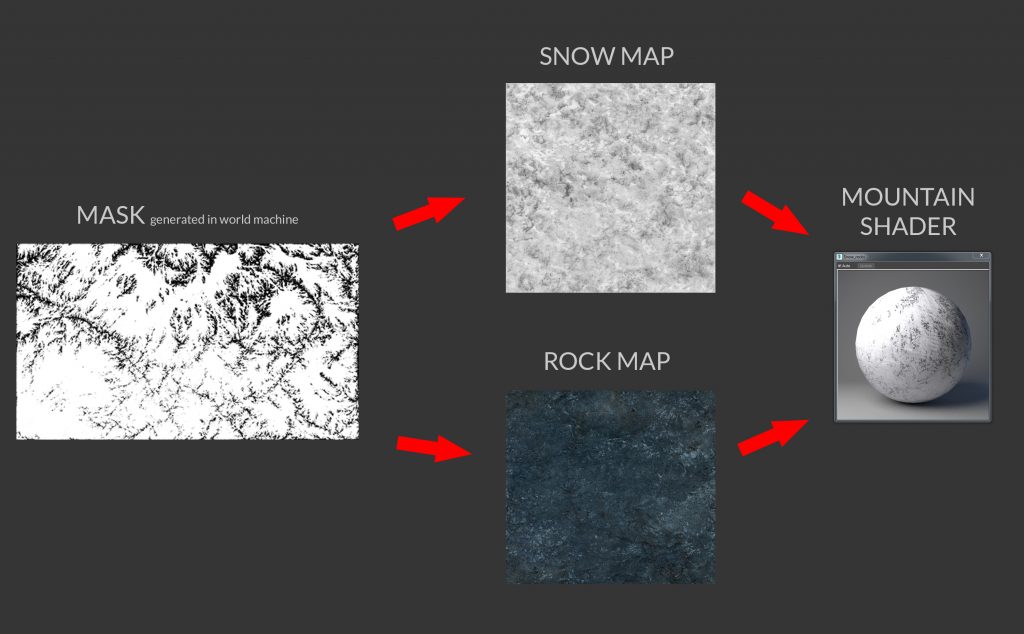
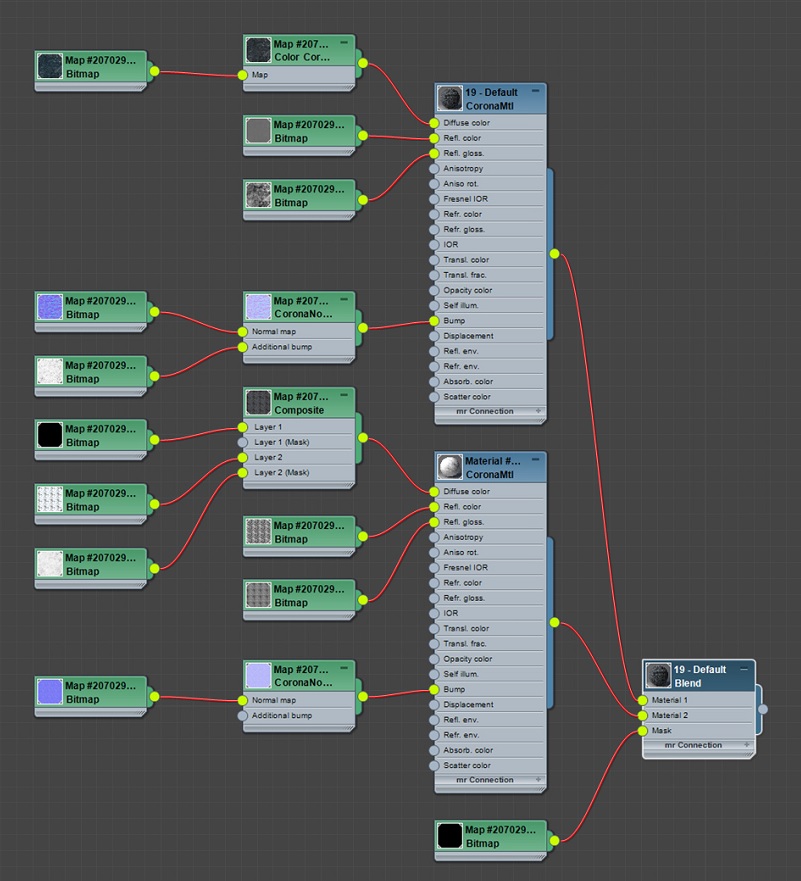
And here is the result once applied to the mountains:
Car
Car paint is always a challenge! However, with Corona Renderer, working on the material is a lot faster. The Interactive Rendering is crucial when we are working with complex shaders – it lets you see in real time exactly how the shader is working, and you can change things on the fly. This is already an amazing feature but with Corona Renderer 1.6 you can also zoom in to your desired spot in the image, and render that region very quickly. When you add up all those features, you can get an excellent, smooth workflow.
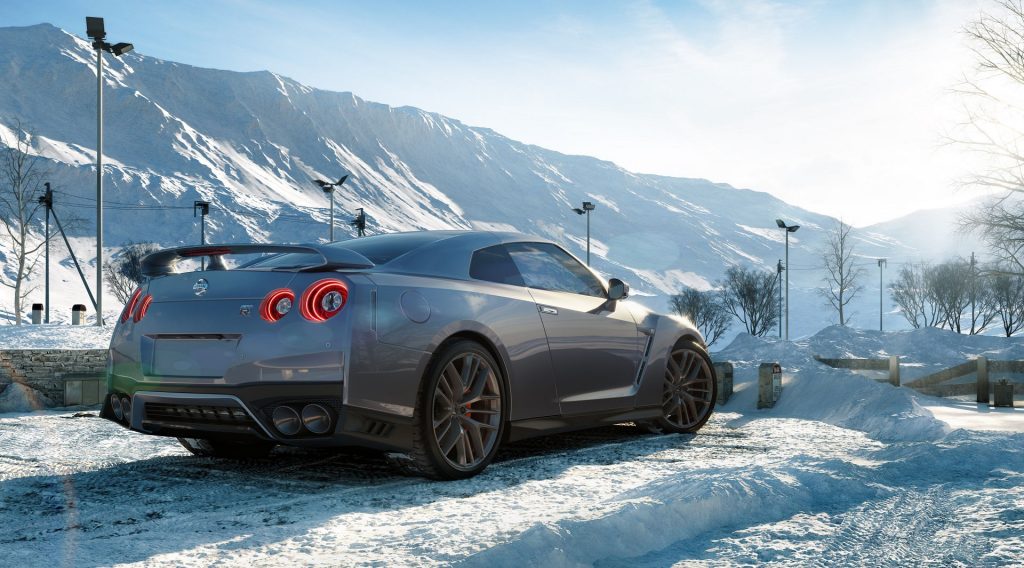
We’ve prepared a few car shaders which we created in Corona, with comparisons to real car examples. The first one is for the McLaren 570S, you can check the full project here, and the second is the Nissan GT-R


The tail lights are fully modeled, and we haven’t added anything in post-production. We used hundreds of small spheres with a Corona Light Material and controlled it during the rendering with the Corona LightMix feature.

Lighting, Rendering Setup and Post Production
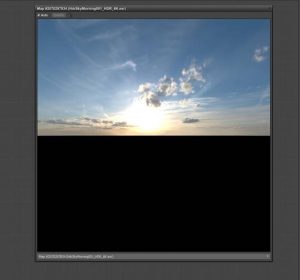
The scene lighting is quite simple. We used an HDRI map as environmental lighting, a Corona Sun, and then the Corona Light Material for the tail lights as mentioned before. It’s always a good thing when you are able to quickly control the lights in your scene, so we really like using the Corona LightMix. This is a powerful tool which can save you a lot of time!
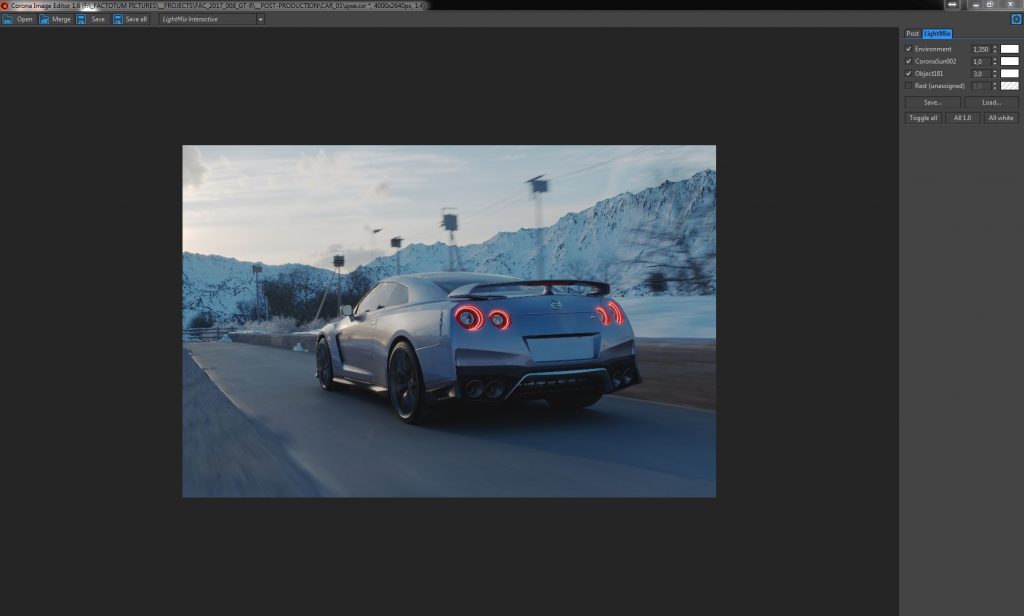
We divided the lights into different LightSelect groups and made some adjustments (you can see those below in the Corona Image Editor). The environment is a basic light and it gives us an overall mood and scene reflections; the Corona Sun makes the shadows harder (most noticeable on the the road and the mountains); and the light called “Object181” is the Corona Light Materials used to make the tail lights brighter. And that’s it!
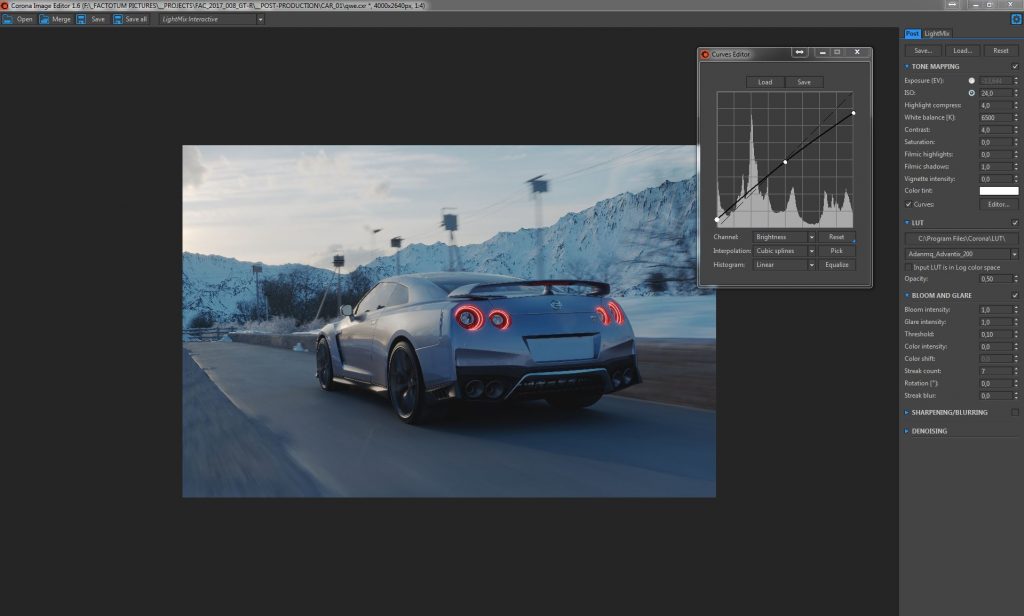
Then we did some adjustments in the Post tab in the Corona VFB. This is a pre-production thing, to make sure that the image is ready to render and go into post-production. We applied Tone Mapping with quite a low ISO, high Contrast, and then made some adjustments using the Curves editor We also used the Filmic Shadows option, a LUT at 50% opacity, and Bloom and Glare to get the right mood.
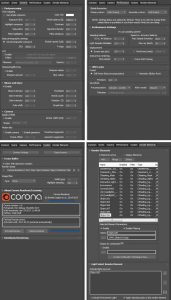
With this all set up, we started rendering. The rendering set up dialogs you can see below:
For this project we used 48 rendering threads, and the image at 4k resolution was ready after 6 hours. We also used Corona denoising too.
When you’ve got output like this from your renderer, the post-production step is really pleasant and simple. We used the Interactive LightMix pass as a base, but for further control we also rendered Essential passes like Reflections, Refraction and Direct passes.
For post-production, it was mainly work to adjust color, levels, brightness and contrast. Additionally, we added some atmosphere using a Z-depth pass. Sometimes we use the Nik Collection filters when we want to play with the image color, and this was helpful this time too.
Conclusion
This project took us two weeks of work. Developing the idea, then two separate scenes, advanced modeling, and learning new software (World Machine). We didn’t experience many problems along the way, the biggest challenge was probably making realistic mountains, but we figured it out!
We really like working with Corona Renderer – it’s a great engine. First off, it’s easy to use and even first-timers can work with it. Secondly, it’s fast and gives you an opportunity to work faster too. Our workflow changed a little after discovering Interactive Rendering – we love it! LightMix is also a huge plus. It’s a renderer with many great capabilities.
Marcin Borowiak & Piotr Masiak
Factotum Pictures


Оставить комментарий
Ты должен быть Вход опубликовать комментарий.